You're know you're underway on your site when you have your own loo on site. Ours arrived today:
I have to confess I've had a good giggle at some of the names on the port-a-loo's used on the various builds in our street. Only in Australia do you get "Dial-a Dunny" and "Phone-a-Throne" :-)
Moving back to the build, the wall has been backfilled and steel laid in preparation for the slab going down tomorrow. The slab will be down before 8am. Here are some photos for you - I hope to get back to the site in the morning with the children to take some shots of the slab being poured.
Tuesday, 2 July 2013
Sunday, 30 June 2013
Waterproofing the Wall
I didn't realise that we needed to waterproof a retaining wall, however I learned this week that you do!
So the wall was waterproofed Thursday 27th and Friday 28th this week. Next the wall will be backfilled and then our slab goes on.
It's raining cats and dogs in Brisbane at the moment, I'm hoping the rain stops overnight so that we can keep progressing on site.
Here are some photos I took on Saturday morning (after a rainy Friday night):
So the wall was waterproofed Thursday 27th and Friday 28th this week. Next the wall will be backfilled and then our slab goes on.
It's raining cats and dogs in Brisbane at the moment, I'm hoping the rain stops overnight so that we can keep progressing on site.
Here are some photos I took on Saturday morning (after a rainy Friday night):
Fingers crossed that I can share a picture of a slab and the start of another retaining wall this week! Rain rain go away .....
Have a great week!
Saturday, 29 June 2013
Interior Colour Selection
As our last couple of houses have had only white walls, we were really keen to experiment a bit with our interior colour selections. So here goes:
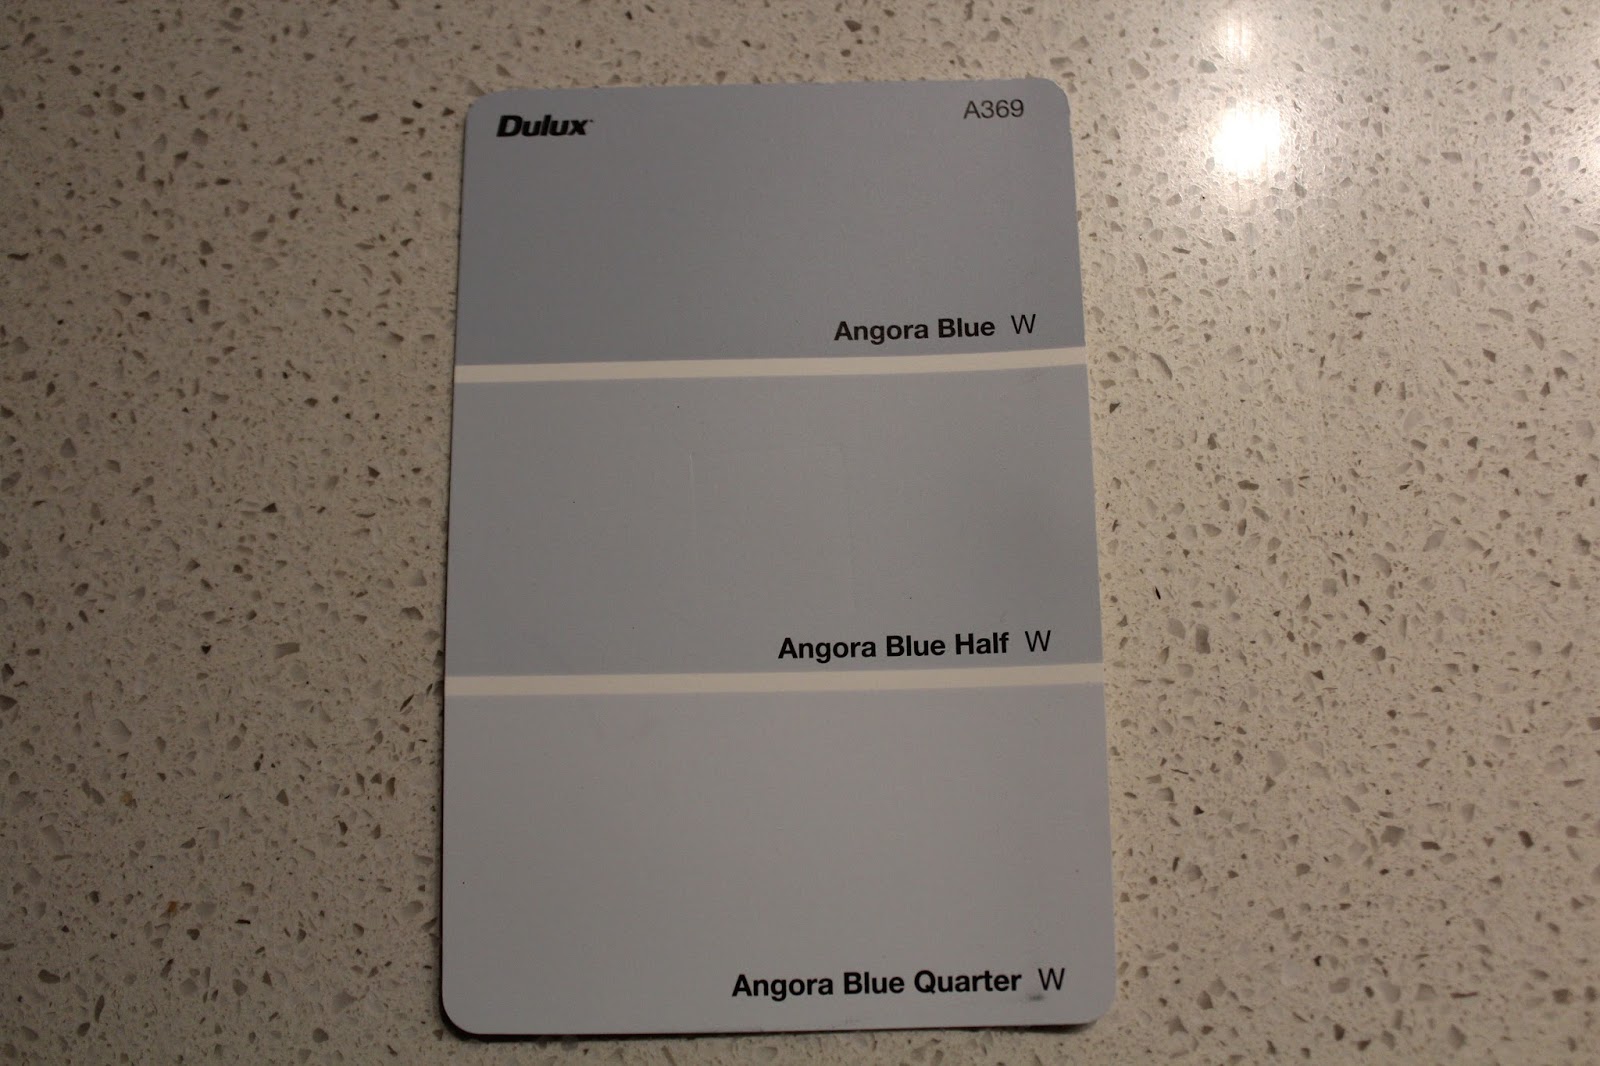
For our Level 1 - Kitchen / Dining / Living, carried through up the stairs into the entry foyer, we went with Dulux "Angora Blue" :
Here is a picture of it on the wall in the background:
For the formal lounge, just off the entry, we have chosen Dulux "Temple". I don't have a sample of it yet, however I will add it in once we receive it. It's a darker shade of grey, not as dark as the exterior Mt Eden though.
For the upstairs Hallway, Bedrooms, Bathrooms and Media Room, we have gone with Half White Duck:
In the master bedroom and walk in robe, we have decided on Dulux "Desert Pear":
I'm still not 100% convinced on this colour, however all of the colours we have chosen work in with the grey palate we started with for the exterior. White Duck has a little bit of grey in it, however it's still a lovely warm colour.
Again, all ceilings, trim and doors will be in Dulux Vivid White.
For our Level 1 - Kitchen / Dining / Living, carried through up the stairs into the entry foyer, we went with Dulux "Angora Blue" :
Here is a picture of it on the wall in the background:
For the formal lounge, just off the entry, we have chosen Dulux "Temple". I don't have a sample of it yet, however I will add it in once we receive it. It's a darker shade of grey, not as dark as the exterior Mt Eden though.
For the upstairs Hallway, Bedrooms, Bathrooms and Media Room, we have gone with Half White Duck:
In the master bedroom and walk in robe, we have decided on Dulux "Desert Pear":
I'm still not 100% convinced on this colour, however all of the colours we have chosen work in with the grey palate we started with for the exterior. White Duck has a little bit of grey in it, however it's still a lovely warm colour.
Again, all ceilings, trim and doors will be in Dulux Vivid White.
External Colour Selections
We are working towards a Hamptons style house, but on a very tight budget!! We were really keen to create a warm character house, without going overboard or making it too fussy. I'm just hoping we get the balance right! We love the warmth of the traditional weatherboard look and wanted to inject some colour into the house, both inside and out.
For the main colour for the house we decided on Dulux "Mount Eden". We loved the colour, and had decided on it after weeks of research and looking at weatherboard houses in our area for inspiration. Our interior designer felt it was too dark, however we love it and it has significance for us as it's the name of a suburb in Auckland :)
![]() |
| Dulux Mt Eden |
![]() |
| House painted in Mt Eden |
The gutter, fascia and garage door will be painted in Dulux "Shale Grey":
![]() |
| Dulux Shale Grey |
![]() |
| Weatherboard House in Shale Grey |
![]() |
| Dulux Vivid White |
however, it will probably look something more like this (with the white trim):
Here's a picture of all of exterior colours taken with out samples:
It looks a bit dark in this picture, however changes again in the daylight. See what it looks like on the house! We've painted the Mt Eden on a bit of disgarded Linea Board (or Scyon in Australia), given to us by some good friends, and I will be testing it in different lights / positions to give us a bit more of an idea.
Next: Interior Colour Selection!
Friday, 28 June 2013
Retaining Wall Number 1 is Up!
Hi all. I thought I would post some photos of our first block wall. This wall runs across and back under our garage slab. This will be the only part of the house to rest on a slab. The remainder of the house will be on piers.
These last pictures were taken on 25/6/13. Next step is water proofing the wall and then backfilling the gaps. Once that is completed, the garage slab will be poured. Yay!
Hopefully our back retaining wall (Retaining Wall #2) will start soon too and run concurrently with continuing site works (digging the piers and our side retaining walls). Hurrah for progress!
| The cute little digger, excavating the U-shaped retaining wall |
| This will be the front of the retaining wall, running east-west across the block |
| Digging the foundations |
| Preparing the foundations for the block wall |
| This section steps back under the garage slab |
| The big digger. At this stage the builders were waiting for the concrete truck to pour concrete into the block wall foundations |
| And the block wall is up! |
| The corner cutting back in under the garage |
| Waiting to be waterproofed and backfilled |
| Our driveway will go where I'm standing, and run up to the garage. The slab will sit on top of the retained square. |
Hopefully our back retaining wall (Retaining Wall #2) will start soon too and run concurrently with continuing site works (digging the piers and our side retaining walls). Hurrah for progress!
Thursday, 27 June 2013
The dreaded retaining wall saga
We've made little progress on the block this month, much to my frustration! The two main reasons are again: (1) unseasonal rain and (2) finding a solution for our back retaining walls.
We can't do too much about the rain, however our SS Steve has been working hard to find a solution for our back retaining wall. We were planning to retain this at a later stage, however our council certifier now requires us to build one, even though our plans were approved by council without it. So we were left with no choice - we had to build a wall.
It's a really tricky issue for a couple of reasons. Due to our EPZ (Environmental Protection Zone) we cannot build the wall past the covenant line - we cannot build anything at all in the EPZ, including a retaining wall. However we would like to maximise the flat backyard space we create off the verandah - which means pushing the wall right to the covenant boundary. The main problem is right on the convenant line the developers laid the sewage and storm water pipes, for some 'sensible' reason known only to them. Consequently engineering footings around this are extremely complicated and expensive, and we need to seek special permission for council to build over / near the sewer.
The wall will run the breadth of the block (approximately 20m) and start at about 1.6m in the eastern corner to 2.1 in the western corner (the land slopes down running east to west). As it's over 1.5m, and some is over 2m, we again need engineering and council approval to proceed. All of this means lots of extra $$.
Our SS looked into a several options for us:
1. Concrib Wall - this is the raked concrete wall you often see in school playgrounds. I remember we had a huge concrib wall at my primary school. While a raked wall wasn't ideal (it would cut back into our backyard space) we thought this would come in at a cost effective price. But no! And the company couldn't start for weeks, which would delay the build significantly.
2. Timber Retaining wall - this was designed to be 1.5m across (as the engineers wouldn't go higher with timber, due to the required footings and pipe issue). As soon as a wall hits 2m, the footing requirements and cost increase dramatically. In this design, the wall wouldn't be high enough to create a flat backyard. The yard would have be raked back and always have a slope. It also came in as the most expensive option!
3. Concrete Sleep Retaining Wall - this design created a flat backyard as it will run from 1.6m to 2.1m in the steepest corner. It came in at the best price of the three options (still expensive and all coming out of contingency) however it provided a lifelong solution too. And as of Wednesday 16 June this week, we were quoted 3-4 weeks to get the engineering plans completed, through council and works completed. So we decided to go with this option.
This has been a hard week and a lesson that contingency funds always need to be available - a lot more than I think was realistic. I make the joke that there are two cars on our site in retaining wall costs along, and it's true. It's painful nevertheless.
On the upside, I hope to see the wall start next week. I will update in the next post on other work that has been progressing on the site while we work through our RW options.
We can't do too much about the rain, however our SS Steve has been working hard to find a solution for our back retaining wall. We were planning to retain this at a later stage, however our council certifier now requires us to build one, even though our plans were approved by council without it. So we were left with no choice - we had to build a wall.
It's a really tricky issue for a couple of reasons. Due to our EPZ (Environmental Protection Zone) we cannot build the wall past the covenant line - we cannot build anything at all in the EPZ, including a retaining wall. However we would like to maximise the flat backyard space we create off the verandah - which means pushing the wall right to the covenant boundary. The main problem is right on the convenant line the developers laid the sewage and storm water pipes, for some 'sensible' reason known only to them. Consequently engineering footings around this are extremely complicated and expensive, and we need to seek special permission for council to build over / near the sewer.
The wall will run the breadth of the block (approximately 20m) and start at about 1.6m in the eastern corner to 2.1 in the western corner (the land slopes down running east to west). As it's over 1.5m, and some is over 2m, we again need engineering and council approval to proceed. All of this means lots of extra $$.
Our SS looked into a several options for us:
1. Concrib Wall - this is the raked concrete wall you often see in school playgrounds. I remember we had a huge concrib wall at my primary school. While a raked wall wasn't ideal (it would cut back into our backyard space) we thought this would come in at a cost effective price. But no! And the company couldn't start for weeks, which would delay the build significantly.
![]() |
| Example of a Concrib wall |
2. Timber Retaining wall - this was designed to be 1.5m across (as the engineers wouldn't go higher with timber, due to the required footings and pipe issue). As soon as a wall hits 2m, the footing requirements and cost increase dramatically. In this design, the wall wouldn't be high enough to create a flat backyard. The yard would have be raked back and always have a slope. It also came in as the most expensive option!
![]() |
| Example of Timber Retaining Wall |
3. Concrete Sleep Retaining Wall - this design created a flat backyard as it will run from 1.6m to 2.1m in the steepest corner. It came in at the best price of the three options (still expensive and all coming out of contingency) however it provided a lifelong solution too. And as of Wednesday 16 June this week, we were quoted 3-4 weeks to get the engineering plans completed, through council and works completed. So we decided to go with this option.
![]() |
| Example of Concrete Sleeper Retaining Wall |
On the upside, I hope to see the wall start next week. I will update in the next post on other work that has been progressing on the site while we work through our RW options.
Wednesday, 5 June 2013
Plans!
Not much has happened the last couple of weeks, partly due to the dreary weather and partly due to a need to change the planned retaining on site. So I thought I would try to fill in a few gaps and finally share our plans.
I love looking at house plans! It's one of the most exciting aspects of the entire process. Putting ours together was enormously fun. Since we finalised them, I have been picturing the house and us walking through it. It's so real in my own mind now, I can picture myself walking through the house so clearly, as if the house already exists. I'd love to hear if other home builders experience this. I hope you enjoy looking at our plans too!
![]() |
| How our house sits on the block |
![]() |
| Our Lower Floor |
![]() |
| Our Upper Floor |
Just to explain a little, to accommodate the block, our house has been designed as a split level home, and not an ordinary upstairs / downstairs format. When you walk in the front door, immediately in front of you are stairs taking you down to our open plan living / dining / kitchen. Off this area is our laundry and the powder room. We will have storage under the stairs and I will be adding in a large study nook along the wall that runs between the void and the laundry.
Back to the front door, the steps to the right (adjacent to the garage) take you upstairs to the bedrooms. On the upper (or first) floor, we have all of the bedrooms, the main bathroom and the kids rumpus or media room. From this floor, you then go up a few more stairs to the front of the house to get to the master bedroom suite. So effectively we have a four levels in our house - so much for the single level home!!!!
One of the most important things for us was to have indoor / outdoor flow for the children, and some flat back yard for them to play on (lots of cricket and football happening in our house!). So the living area flows onto the verandah, which flows onto the backyard and the pool area. From this area, the block then flows down into the convenant area, which has lots of gum trees and some native bush, but has enough room for the kids to move and play in there as well. It gives us a nice sense of space too.
Back to the front door, the steps to the right (adjacent to the garage) take you upstairs to the bedrooms. On the upper (or first) floor, we have all of the bedrooms, the main bathroom and the kids rumpus or media room. From this floor, you then go up a few more stairs to the front of the house to get to the master bedroom suite. So effectively we have a four levels in our house - so much for the single level home!!!!
One of the most important things for us was to have indoor / outdoor flow for the children, and some flat back yard for them to play on (lots of cricket and football happening in our house!). So the living area flows onto the verandah, which flows onto the backyard and the pool area. From this area, the block then flows down into the convenant area, which has lots of gum trees and some native bush, but has enough room for the kids to move and play in there as well. It gives us a nice sense of space too.
Subscribe to:
Posts (Atom)